 "
"
How to Setup Custom Login Page in WordPress Using Woffice?


Using an Intranet WordPress theme like Woffice on your website is one of the best, effective ways to keep your employees connected and productive at the same time.
In addition to helping you maintain an open channel of communication with your customers and your team, you can also use this type of theme for project and task management.
And what other Intranet theme can be better than Woffice, a theme sold for only $79? A theme that can be compared with ClickUp, Asana, and Trello?
What is Woffice?
Woffice is a Multi-Purpose WordPress theme that lets you set up an intranet – as well as extranet – channel seamlessly.
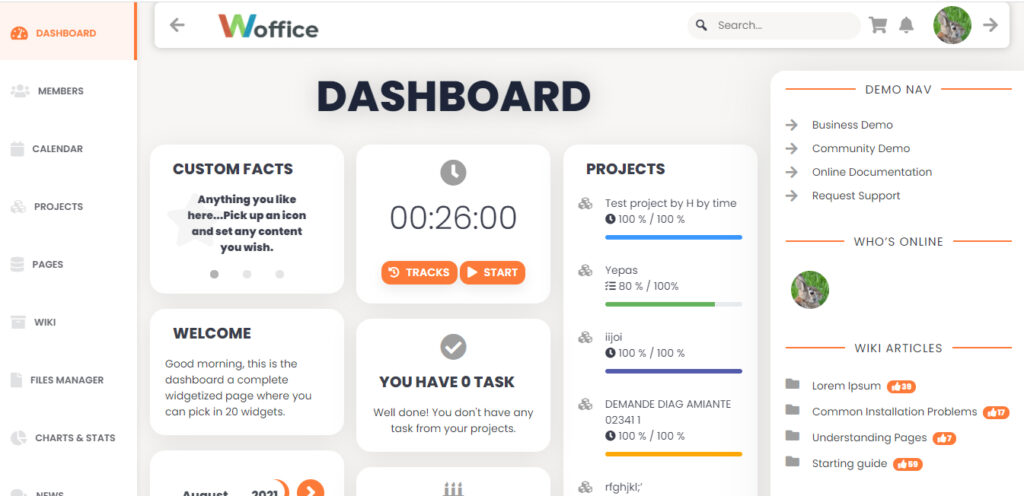
It comes packed with every imaginable feature you will need to smoothly manage internal communication and task within your organization.
Some of the popular features are:
- Calendering system that lets you plan out your future activities
- Widgetized dashboard, with a rich UI
- Powerful search to find filter through your content and team member
- File and directory management
- Members map to accurately keep track of your team members
- Customizable login page
The magic? Woffice allows you to create a separate, customizable login page for your Intranet.
In this tutorial, I will show you how to create a customized login page without stress.
But first, why do you need a customized login page?
Why Is a Customizable Login Page Necessary?
Creating a custom login page for your intranet has a number of benefits.
Firstly, a well-designed login page inspires a sense of security to your users. It puts their mind at rest knowing that their login details are well secured.
In fact, using a separate login page makes it difficult for a user with a malicious motive to gain access.
Secondly, adding your organization’s logo and using custom images helps to improve the user experience. It makes your intranet more welcoming for users.
Lastly, a custom login page makes your organization come off as more professional, both in the eyes of internal employees and external entities that might have access to your portal (extranet).
With all that said, let me now show you how to create one on WordPress
How to Create and Customize a Login Page Using Woffice?
Before you proceed to create a custom login page, you need to have an Intranet WordPress theme like Woffice installed.
How to Install Woffice?
Step 1: Download and Upload Woffice to Your Website
Head over to Theme Forest to purchase the theme. Once you’ve done that, download the purchased theme and log in to your WordPress dashboard.
After doing that, navigate to Appearance >> Themes. Then click the Add New button like so:
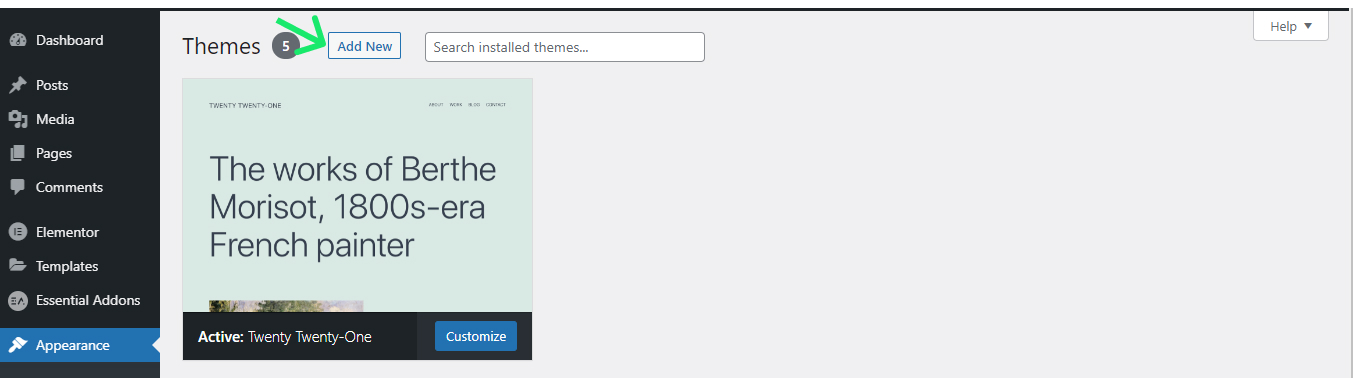
After that, click the Upload Theme button, locate the downloaded Woffice theme (in zipped format), and upload it to your website.
P.S: When you download Woffice from Themeforest, it often comes in two zipped forms: Woffice-Intranet.zip and woffice-4.0.2.zip. The latter is installable, the former is not. That is to say, upload woffice-4.0.2.zip and not the first one.
Once you’ve uploaded the Woffice theme, install and activate it. With that done, proceed to step 2.
Step 2: Install All Dependent Plugins
For Woffice to function properly, some plugins need to be installed.
But not to worry, you don’t have to manually install these plugins, one at a time. You can do so with few clicks of the button.
Start by clicking the Begin installing plugins link from your WordPress dashboard.

Upon click, you will be redirected to the plugin installation page. Here, click the Plugins checkbox, and then the Bulk actions dropdown box.

Then select Install, and then hit the Apply button.
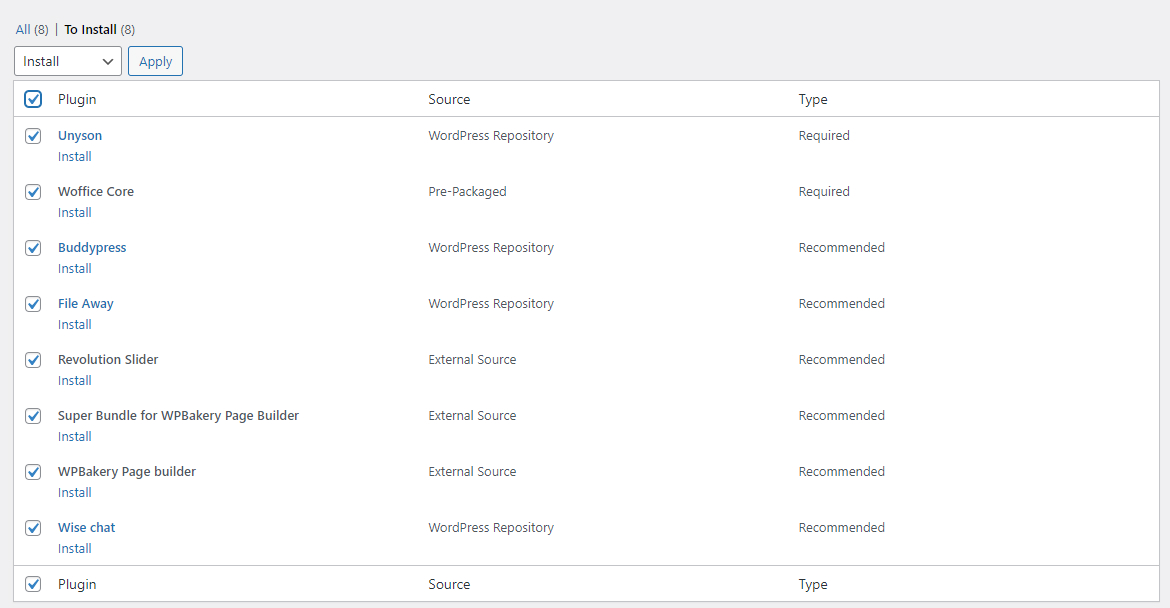
Upon click, all the selected plugins will automatically be installed. At this point, you are ready to start creating your custom login page.
How to Create a Custom Login Page
Step 1: Create a New Page
Create a new page, like you normally would, and name it whatever you want.
Next, on the right panel, locate the Templates dropdown menu and click on it. Then select Login like so:
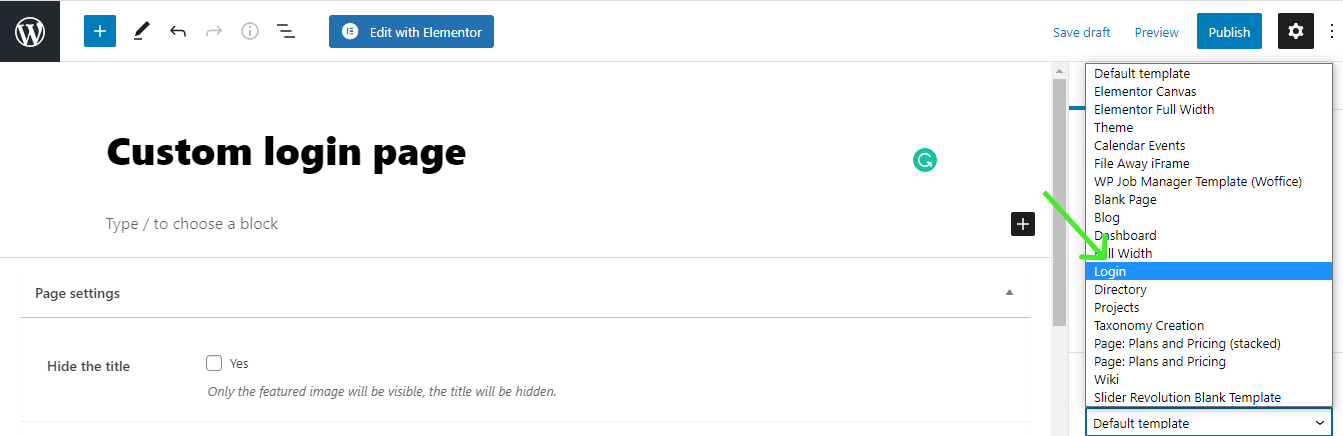
When you are done, publish the page. This page will be used by Woffice to set up your login page.
Step 2: Customize Your Login Page
With your login page published, the next thing you will want to do is to style it the way you want.
To do that, navigate to Appearance >> Theme Settings
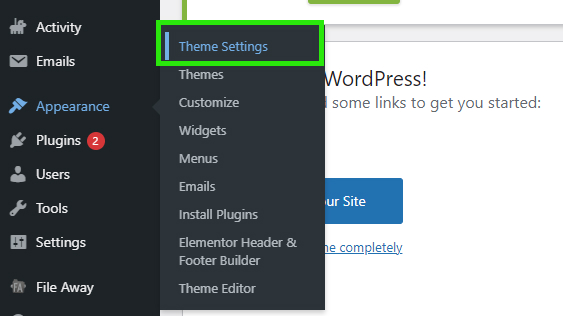
This will take you to the Woffice customization page. On that page, click Login/Register.
When you’ve done that, toggle the Custom Login Page option to Yep.
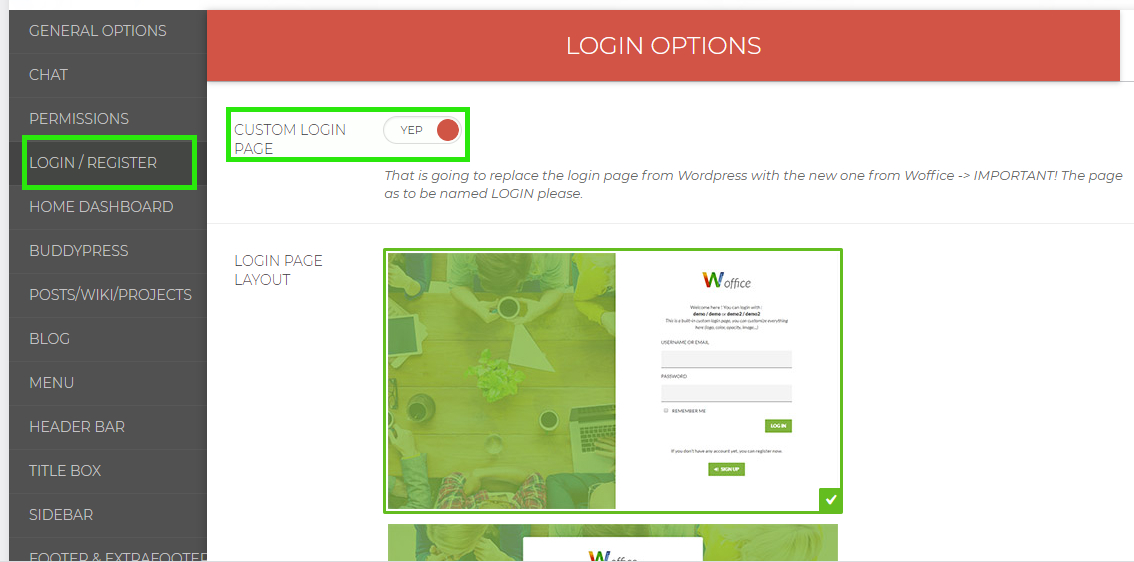
This will bring up the login page customization options.
Select your preferred login page layout.
After that, scroll down and make all necessary tweaks that you deem fit. For example, you can choose to set a custom welcome message, use a different background color and image, etc.
Login Page Customization Options
In addition to a custom layout and background image, Woffice also offers you lots of other customization options for your login page.
They are as follows:
- Image opacity. This allows you to adjust the opacity of the background image you use.
- Custom logo width
- After login URL: where would you like to direct users to once they log in?
- Register message: what message would you like to show unregistered users?
- Email verification
- reCaptcha: you can either use a reCaptcha question or Google reCaptcha
- Facebook and Google options
When you are done setting your customization options, click the Save Changes button.
Conclusion
So there you have it; easy steps to create a custom login page using Woffice; one of the best Intranet WordPress themes in the market.
If you enjoyed this post, kindly share.