 "
"
How to Use the Calendar Widget in Woffice


One of the important features to keep an eye out for when picking an Intranet WordPress theme is a calendar widget.
A calendar widget has many uses. For one thing, it makes appointment booking possible on your website.
Also, a calendar widget will come in handy when you have an upcoming event and want to remind people about it. This feature will be very useful if you run a project and task management platform.
And there’s still more!
This then begs the question: how do you add a calendar widget to your Intranet site?
Simple. With Woffice theme!
Woffice – one of the most popular Intranet WordPress themes in the market that sells for only $79 – comes with a robust, powerful calendar widget.
As such, you won’t need another calendar plugin with Woffice in place.
In this post, I will be showing you how to use this calendar widget. But first, what is a calendar widget used for?
What Is a Calendar Widget Used For?
If you run a business or an organization with lots of team members in it, you will agree that maintaining a steady flow of communication is important. This is where setting up an intranet becomes needful – it helps keep your team talking and, hence, connected.
And when you’ve finally set up a communication channel via an intranet, the next thing to deal with is the regular stream of events that will follow suit.
This is where a calendar widget comes into play. It gives you an avenue to set up an event and remind your team members about it.
Interestingly, the Woffice calendar widget allows you to customize your events to your heart’s content.
How to Use Woffice Calendar Widget
Here are the steps to using Woffice calendar widget in WordPress
Step 1: Download and Install Woffice Theme
To do that, you will need to head over to Themeforest and purchase the theme. After purchasing, download and activate the plugin on your WordPress intranet, just like you would with any other theme
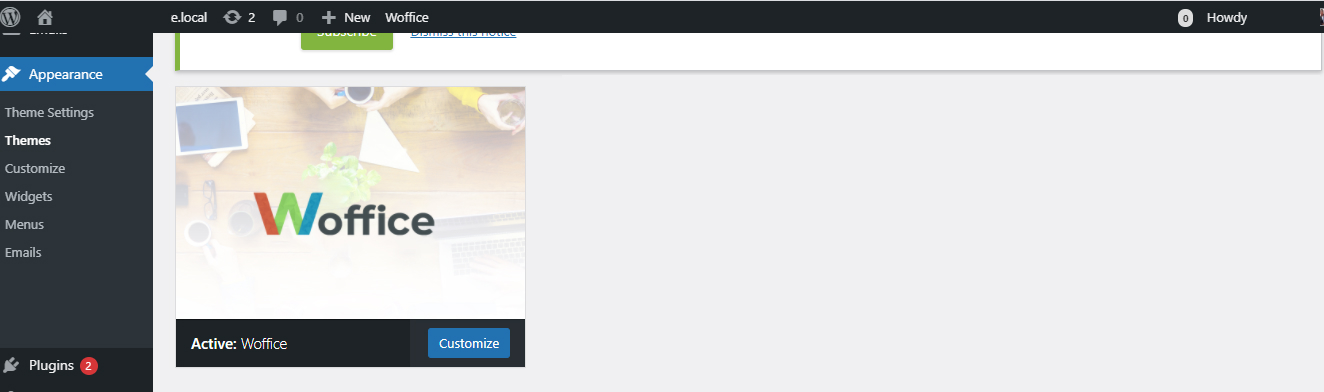
After downloading the theme from Themeforest, locate the woffice-4.0.2 zipped file. This is actually the installable file.
When you are done with installation and activation, proceed to the next step.
Step 2: Install all Dependent Plugins
Certain plugins need to be installed and activated for Woffice to work effectively. To install them, click the Begin installing plugins link like so:

After clicking the link, you will be taken to the plugin installation page. Select all the plugins by simply clicking the Plugins checkbox. Once you’ve done that, select Install from the Bulk actions dropdown box.
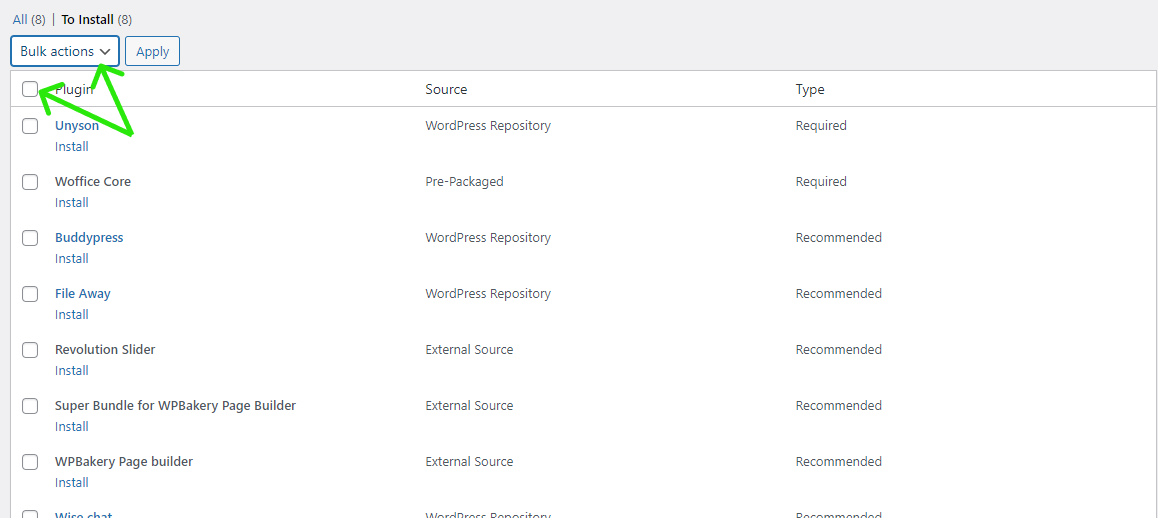
With all the plugins selected and bulk action set to install, hit the Apply button.
Upon click, all the selected plugins will be installed. Next is to activate them.
To do that, navigate to Plugins >> Installed Plugins. Select all the plugins like you did previously. Then, from the dropdown menu, select Activate and finally apply.
With that, all dependent plugins have been installed and activated.
Step 3: Add the Calendar Event Extension
To begin using the calendar widget on your WordPress intranet, you first need to add the extension.
To do that, navigate to Woffice >> Extensions
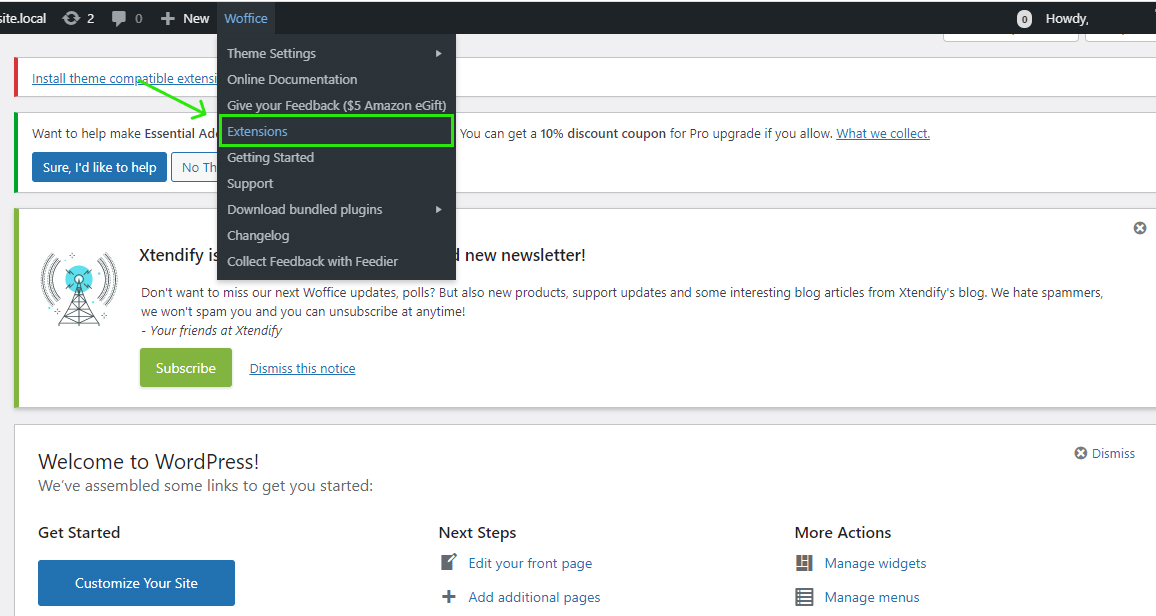
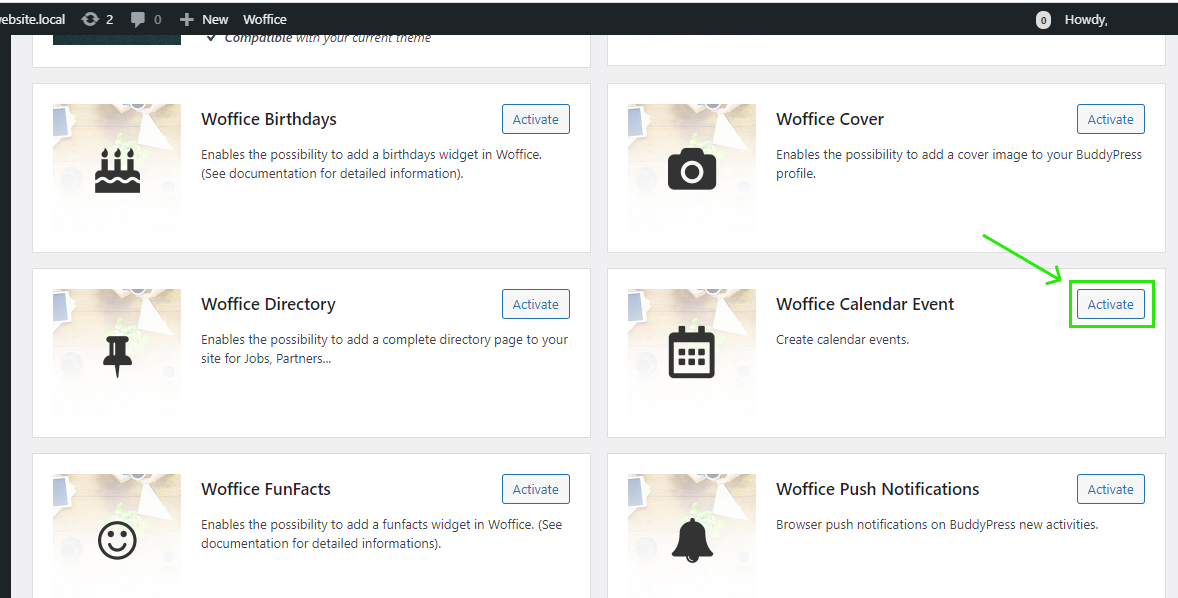
On the next page, locate the Woffice Calendar Event extension. When you have, click the Activate button like so:
Step 4: Add the Calendar Event to Sidebar and Footer
After activating the event calendar extension, the next step now is to add it to your intranet website.
Woffice gives you the option to add the calendar event to the right sidebar or footer section of your site.
To do so, navigate to Appearance >> Widgets
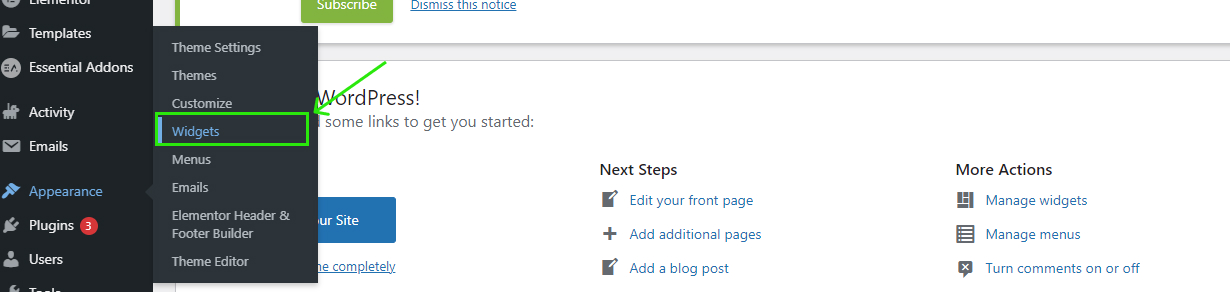
When you do that, the widget page will appear.
To add a widget to the right sidebar of your site, locate the Woffice Calendar event widget and drag it to the right sidebar like so:

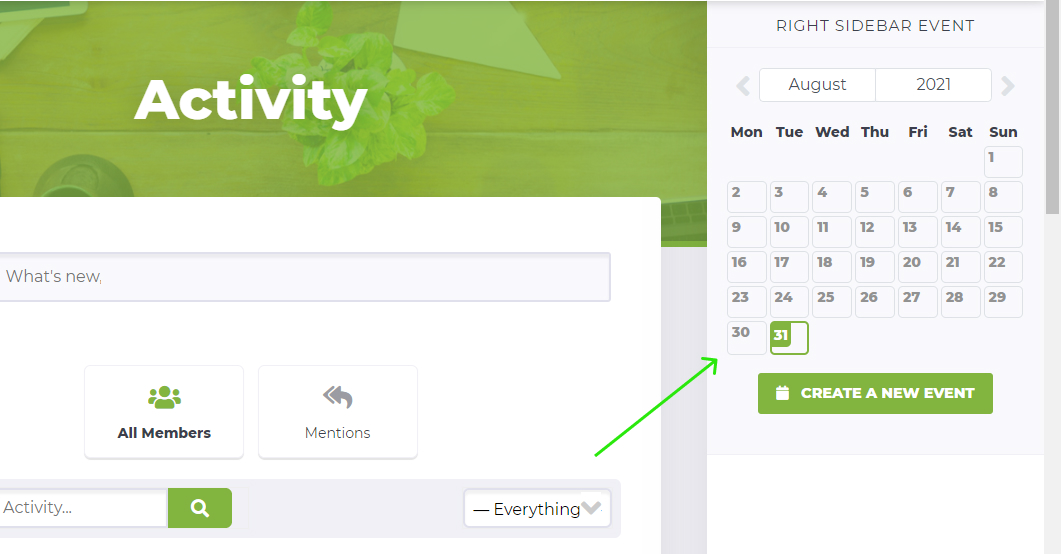
Next, set a title for the event, change the visibility to General, and then Save.
And with that, you have a live calendar event on the right sidebar of your intranet website.
If you would rather add the widget to the footer of your website, drag it to the Footer Widgets instead.
Save and you are done!
To create a new event from your site’s sidebar, click the Create a New Event button. Give the event a name, set all parameters and save.
Wrapping it Up
So there you have it; 4 easy steps to add a calendar widget to your Intranet site using Woffice – the internet’s most popular Intranet WordPress theme.
What’s more, Woffice makes project and task management easy peasy lemon squeezy.
Why not head over to Themeforest right away and get a copy of yours?!